How to Set up a TeraStation 1000, TeraStation 3000, TeraStation 4000, TeraStation 5000, TeraStation 7000, Using Mac OS
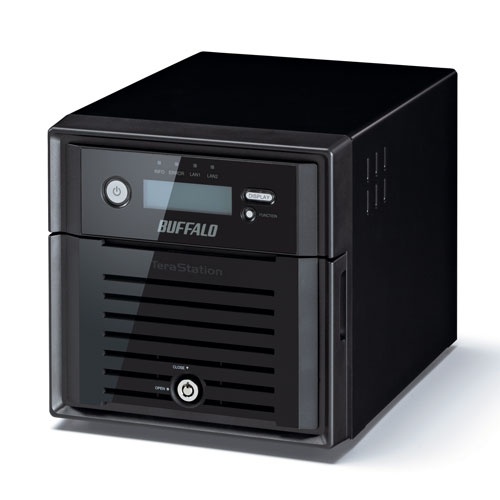
Buffalo’s TeraStation network attached storage (NAS) and personal cloud storage solutions offer secure and reliable centralized storage and backup for your home, small office and business needs. With Buffalo TeraStation NAS you can easily share files and back up multiple PC and Mac computers on your home network, designate it as your PS3 media server to stream your favorite movies and music or store, manage and protect your most important business assets.

The Buffalo TeraStation NAS series is perfect for small businesses, branch offices, and demanding home users looking for a feature-rich – and economical – Network Attached Storage solution.
Users will be impressed with the Buffalo TeraStation for its business-class feature set, fast network transfer rates, and available capacities ranging from 2TB -16TB.
How To configure the TeraStation device from an Apple OS
1. Boot the TeraStation device while it is connected to the router.
2. Access the settings of the router and look at the DHCP client list.
This will show the IP address the TeraStation NAS device connected or use NAS Navigator2, which will show the IP address, the hostname, the firmware version on more information about your TeraStation NAS device.
3.From your web browser(Chrome, Firefox Internet Explorer etc) , navigate to”http://<ipaddress>”, where <ipaddress> is the IP address that was assigned to the TeraStation NAS device by the router.
4.Log in using admin as the username and password as the password. From there assign the TeraStation NAS device a Network Name under Basic.
5.To mount a share from the TeraStation NAS device, navigate to Go->Connect to Server and enter <name> where <name> is the name of the TeraStation NAS device.
This should display a screen to allow for mounting a share from the TeraStation NAS device . Choose guest or enter no password if prompted.
If unable to configure Terastation using above steps, try using the steps below( Main reason being DHCP not allocating the IP Address automatically)
1. Check the IP range of the network. In order to accomplish this, navigate to the Apple Menu->System Preferences->Network.
2. Get the IP address range of the network being used by selecting the adapter being used to connect to the router (usually called Built in Ethernet for wired or Airport Adapter for wireless).
3. Select the TCP/IP tab. Write down the IP address of the computer, the Subnet Mask, and the Router/Default Gateway.
4. The user will need to make up an address to give to the TeraStation based on this data.
For example, if the Router address is 192.168.0.1 and the address of the computer is 192.168.0.105, then the range is 192.168.0.1 to 192.168.0.254, and the router is probably giving out addresses starting at 100.
It may be possible to give the TeraStation an address of 192.168.0.254 or 192.168.0.50 since it is unlikely that those will be given out by the router.
Changing the address of the computer
- Choose the wired adapter and set it to Configure Manually.
- Enter the IP address of 192.168.11.100 and subnet mask of 255.255.255.0, disregard the other addresses at the moment.
- Plug the TeraStation directly into the computer using Ethernet and start the initialization of settings.
- Open a web browser and navigate to “http://192.168.11.150”.
- Log in with “admin” and “password” for username and password.
- Navigate to Network->IP Address Properties and disable Automatic via DHCP.
- Enter the IP address that was created, the subnet mask and Default Gateway(Router) address that was noted.
- Click apply and reconnect it to the router.
- Navigate back to Apple Menu->System Preferences->Network and set the adapter back to ‘Configure Using DHCP’ to get an address from the router again.
- To connect to the built-in share, navigate to Go->Connect to Server and enter the IP address that was created for the TeraStation. This will display a file share mounting page.
- Choose guest or enter no password if prompted.
To access the settings from now on, open up a web browser and go to “http://<ipaddress>” where <ipaddress> is the IP address that was assigned to the TeraStation.


